Popcorn Ceiling Removal: A Step-by-Step Guide to a Smooth, Modern Ceiling
Discover how to tackle popcorn ceiling removal like a pro! Our step-by-step guide covers testing for asbestos, scraping, and finishing for a smooth, updated look.
TIPS
DRZ
2/2/20253 min read
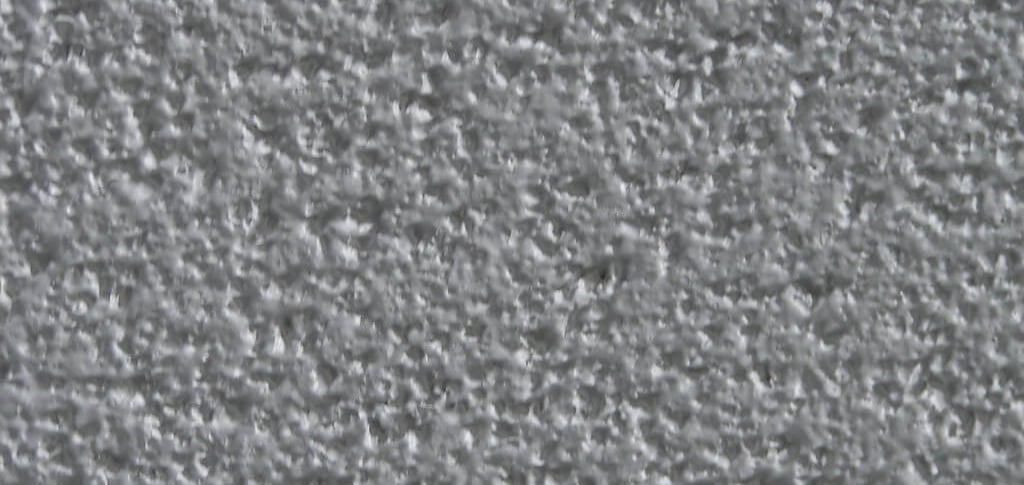

Why Remove a Popcorn Ceiling?
Popcorn ceilings, also known as textured or acoustic ceilings, were once a popular choice for homes. However, many homeowners today find them outdated or difficult to clean. If you’re looking to modernize your space, removing a popcorn ceiling can make a huge difference. While the process can be a bit messy, it’s totally doable with the right tools and preparation. Here’s a step-by-step guide to help you tackle this project like a pro.
Step 1: Test for Asbestos Before Starting
Before you start, it’s crucial to check if your popcorn ceiling contains asbestos, especially if your home was built before the 1980s. Asbestos is a hazardous material that can cause serious health issues if disturbed.
What to do: Purchase an asbestos testing kit from a hardware store or hire a professional to test a sample of your ceiling. If asbestos is present, it’s best to hire a licensed abatement professional to handle the removal.
Step 2: Gather Your Supplies
Removing a popcorn ceiling requires a few essential tools and materials. Here’s what you’ll need:
Plastic drop cloths or tarps
Painter’s tape
A ladder
A garden sprayer or pump sprayer
A wide putty knife or drywall knife
Safety goggles, a dust mask, and gloves
A bucket for debris
Sanding tools (for finishing)
Joint compound and a trowel (for repairs)
Step 3: Prepare the Room for Popcorn Ceiling Removal
Popcorn ceiling removal can get messy, so proper preparation is key.
Clear the room: Remove all furniture, rugs, and decorations. If you can’t move large items, cover them with plastic drop cloths.
Protect the floors: Lay down plastic sheeting or tarps and secure them with painter’s tape.
Cover walls and light fixtures: Use plastic sheeting to protect walls and tape around light fixtures to prevent water damage.
Step 4: Wet the Ceiling
Spraying the ceiling with water softens the texture, making it easier to scrape off.
Fill a garden sprayer with warm water.
Lightly mist a small section of the ceiling (about 4x4 feet). Avoid oversaturating, as too much water can damage the drywall underneath.
Let the water soak in for 10-15 minutes.
Step 5: Scrape Off the Texture
Once the texture is softened, it’s time to scrape.
Use a wide putty knife or drywall knife to gently remove the popcorn texture. Work in small sections to avoid drying out the area.
Hold the scraper at a slight angle and apply even pressure to avoid gouging the ceiling.
Scrape the debris into a bucket or onto a tarp for easy cleanup.
Step 6: Inspect and Repair the Ceiling
After removing the texture, you may notice imperfections like cracks, holes, or uneven areas.
Use joint compound to fill in any damage. Apply it with a trowel and smooth it out.
Let the compound dry completely, then sand the area until it’s smooth and even with the rest of the ceiling.
Step 7: Clean Up
Removing a popcorn ceiling creates a lot of dust and debris.
Carefully gather the plastic sheeting and dispose of the debris.
Vacuum the room to remove any remaining dust.
Wipe down walls and surfaces with a damp cloth.
Step 8: Finish the Ceiling
Once the ceiling is smooth and clean, you can finish it to your liking.
Paint: Apply a primer to seal the surface, then paint the ceiling with your desired color.
Texture (optional): If you prefer a textured look, consider applying a modern texture like a skip trowel or orange peel finish.
Tips for Successful Popcorn Ceiling Removal
Work in small sections to keep the ceiling from drying out before you can scrape it.
Wear safety gear, including goggles, a dust mask, and gloves, to protect yourself from debris and dust.
Be patient—rushing the process can lead to damage or an uneven finish.
If you’re unsure about tackling the project yourself, consider hiring a professional for peace of mind.
Final Thoughts
Removing a popcorn ceiling can instantly update the look of your home, but it does require some effort and preparation. By following these steps and taking your time, you can achieve a smooth, modern ceiling that transforms your space. Whether you’re a DIY enthusiast or a first-timer, this project is well within reach. Happy scraping! 🛠️✨

The Drywall Resource
Expert advice for drywall enthusiasts and contractors.
© 2025. All rights reserved.

