Best Size Drywall Knife for Finishing
Discover the best drywall knife for finishing and how to use 6", 8", 10", and 12" blades at each stage for smooth, seamless drywall results.
TOOLS
DRZ
6/15/20253 min read
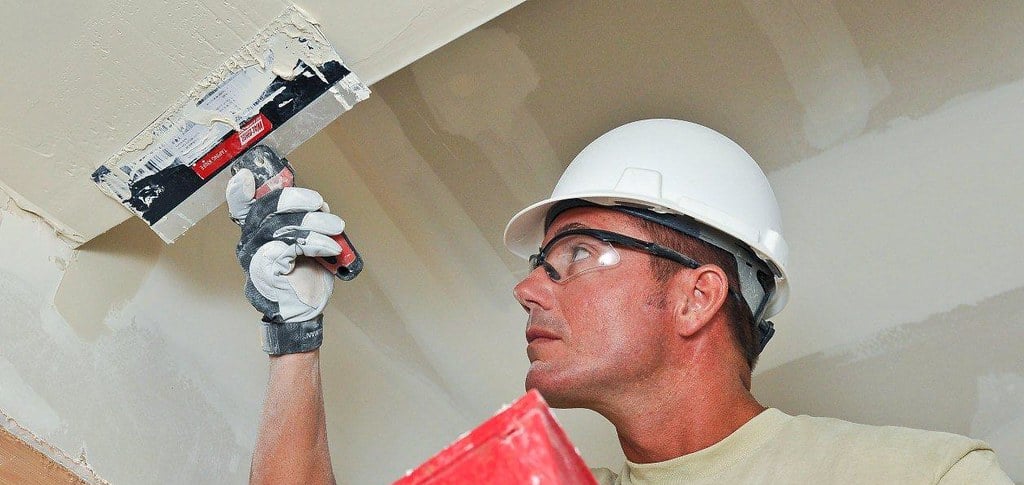
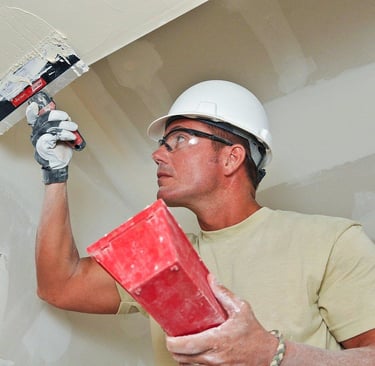
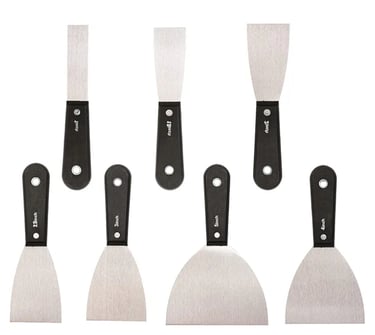
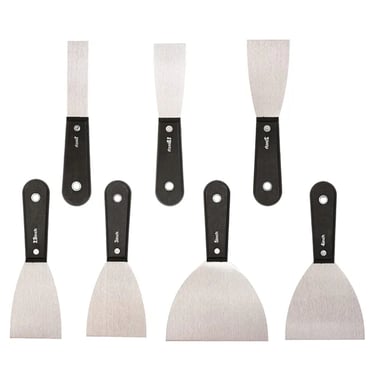
Finishing drywall like a pro requires not just skill, but the right tools for each step. One of the most important tools is the drywall taping knife (also called a drywall knife or joint knife). These knives come in various sizes, typically ranging from 4 inches up to 12 inches. In this guide, we focus on the best drywall knife sizes for finishing your project: 6-inch, 8-inch, 10-inch, and 12-inch knives.
Each size plays a unique role in the drywall finishing process, from embedding tape to applying subsequent coats of joint compound. By starting with a smaller knife and progressing to larger knives with each coat, you can achieve a perfectly smooth finish and minimize visible seams and butt joints. The reason for using progressively larger knives is simple – a wider knife spreads the mud over a larger area, creating a gentler, more gradual slope on the wall. This prevents a sharp bump or ridge from forming at the joint, making any imperfections far less noticeable.
Below, we’ll explain how and when to use each common drywall knife size during the finishing process. We’ll also provide a handy comparison table summarizing each knife’s ideal use and typical price range. By the end, you’ll know exactly which drywall knives are best for each finishing stage to achieve smooth, professional-looking walls – all without breaking the bank. Most of these tools are quite affordable under $25.
Drywall Knife Sizes and When to Use Each
Finishing drywall is usually done in multiple coats, and each coat can benefit from a different size knife. Generally, you’ll start with a 6-inch knife for the first coat (taping), then move up to an 8-inch for the next coat, a 10-inch for the following, and finally a 12-inch knife for the last coat. Each larger knife helps feather and smooth the joint compound over a wider area than the previous, reducing edge build-up and hiding the joint better.
6-Inch Drywall Knife – First Coat (Taping)
The 6-inch knife is typically the first tool you’ll use in drywall finishing. It’s ideal for embedding tape into the first coat of joint compound applied over seams. Its narrow width makes it easy to control the amount of mud and apply pressure to bed the tape firmly into the joint. You’ll also use a 6" knife to cover screw holes, nail dimples, and small gaps.
A smaller blade lets you concentrate force on a narrower area, which is great for pressing tape into place and scraping off extra mud. It’s also handy for tight spaces or angles. (Typical cost: $5–$10.)
8-Inch Drywall Knife – Second Coat (Feathering the Edges)
Once the taped joints have dried, the second coat widens the coverage area beyond the tape. An 8-inch drywall knife is ideal here. It allows you to feather the joint compound outward for a smoother transition.
This coat helps fill in any shrinkage from the first coat and begins to hide the seam. It’s still easy to handle and gives you a better blend between the joint and the surrounding wall. (Typical cost: $8–$15.)
10-Inch Drywall Knife – Third Coat (Widening and Smoothing)
The 10-inch knife is used for the third coat, which further smooths and expands the joint. This tool strikes a good balance between control and coverage. It's often used for finish coats as well.
You’ll use it to cover an even wider area, further tapering the joint and reducing visibility of any seams or ridges. (Typical cost: $10–$20.)
12-Inch Drywall Knife – Final Coat (Blending and Skim Coating)
For the final coat, use a 12-inch knife to achieve a seamless finish. It’s great for butt joints and final passes that need a wide spread to eliminate sharp transitions.
The wider blade feathers mud out to the maximum, minimizing the appearance of bulges. It can also be used for skim coating large patches or full walls. (Typical cost: $15–$25.)
Tips for a Smooth Drywall Finish
Apply Thin Coats: Use multiple thin layers of compound instead of one thick coat.
Feather Your Edges: Lift the knife edges slightly while finishing to smooth out the transitions.
Keep Blades Clean: Clean your knife often to avoid dried compound scratching your finish.
Use the Right Tool for the Job: A complete set of knives allows you to finish joints with minimal sanding.
Conclusion
The key to a flawless drywall finish is using the right size knife at the right time. Starting small and increasing blade width with each coat helps feather seams, hide joints, and achieve a smooth, professional result. With a good set of drywall knives and the right technique, even DIYers can get pro-quality results.
Need more help? Check out our drywall calculator and mud calculator to estimate how much material you need for your next job. Happy drywalling!
The Drywall Resource
Expert advice for drywall enthusiasts and contractors.
© 2025. All rights reserved.

